Breathing new life into some of your old furniture can give you a conversation piece that fills your new home with a style that is unique to you.
Whether it’s an old sideboard, armoire, or bedroom dresser, don’t be hasty to punt these things out to the curb! In fact, restoring well-loved furniture found in antique markets and online classifieds can be an excellent way to give your new home character without breaking the bank.
To help you out, here are 5 steps to refinishing furniture that even a novice can do from home.
Be Prepared
DIY projects can be intimidating if you haven’t done many in the past, but refinishing furniture is an excellent place to start. Depending on the piece you’re working on, it’s pretty easy. But most importantly, it’s fun!
To get started, ensure you have the following items on hand before you begin:
- Drop Cloth, rags & a bucket
- Wood Glue and a screwdriver
- Sponge & Dish washing soap
- Microfiber cloth
- Sandpaper
- Hand Sander (optional but recommended for larger pieces of furniture)
- Chemical stripper
- Putty Knife
- Your wood finish of choice
- Brushes
- Latex gloves
Inspect and Clean Surfaces
Now that you’re all set to go, you’ll need to start by inspecting the furniture for issues. Make sure hardware such as screws and bolts are tightened. If there are doors, remove them if possible – it will be easier to refinish these when they aren’t attached. Next, apply wood glue to secure any loose joints or chair spindles.
Then remove any upholstered part of the furniture, such as a seat. This will allow you to properly refinish the piece without worry of ruining fabrics – especially if you plan on keeping this part as is.
Once you’ve completed these steps, clean all the surfaces you will be refinishing with warm water and dish soap. Then rinse using a sponge and dry with a microfiber towel.
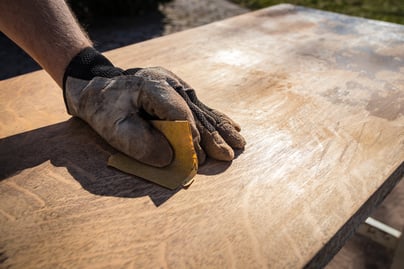
Remove Old Finish
There are generally three different ways to remove the old finish from furniture:
SandingStarting with a courser grit sandpaper, you can begin removing the old finish. As most of it has been removed, use a medium grid paper for the remaining patches, and fine grit to make the surfaces smooth.
Chemical StripperThis is best used on larger pieces of furniture, as it will allow you to apply the chemical with a brush and the then take it off with a putty knife. To get into tighter corners and surfaces, go over these areas with steel wool to remove the remaining finish. For obvious reasons, it’s really important to wear gloves for this step.
Once the chemical stripper has dried, sand the surfaces with course, medium and fine sandpaper until smooth.
Heat GunPro Tip: When removing the chemical stripper from the furniture surface, use a putty knife with rounded edges. This will avoid you making gouges in the wood that will need more repairs.
This method is best for removing old paint. This is also safer than using harsh chemicals – and it’s environmentally friendly.
If you encounter some stubborn marks that are still visible after you’ve removed the finish, can you sand the affected area a little more. But don’t get too eager. If you sand the area too much compared to the rest of the surface, it will show when you apply a stain.
If you can’t remove it all, consider using a darker stain or paint that will allow you to cover up those blemishes.
Make Final Repairs
At this point, there is still one more repair that will need to be completed if necessary.
Depending on the state of the wood furniture you’re working on, you’ll also need to repairs dents, scratches and chunks that are visible. To do this, kneed some wood epoxy wood filler until you can mold it and fill where it’s needed. Once it’s dry, sand the area until the surface is smooth.
Pro Tip: When you’re shaping epoxy wood filler to fill dents or chunks from the furniture, wet your fingers. This will allow you to work the epoxy without it sticking to your fingers.
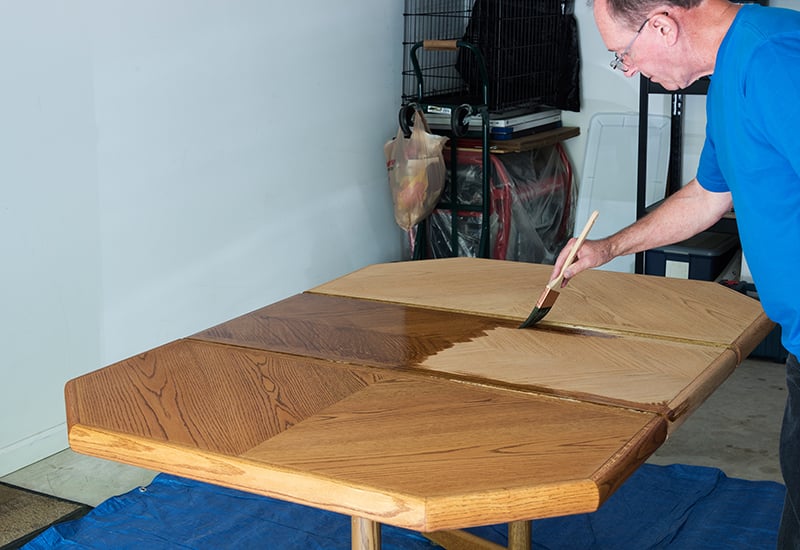
Apply New Finish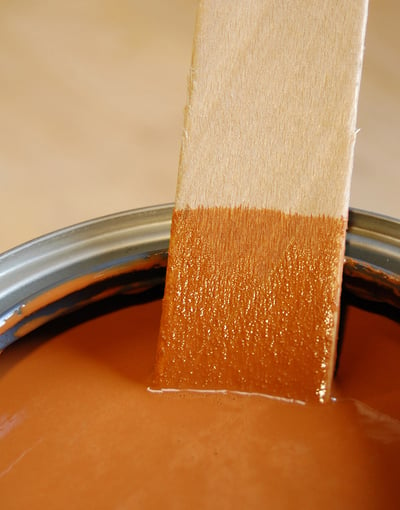
Now for the moment your old furniture will really shine! Applying the finish will bring out the natural grains in the wood and protect it from moisture and dirt.
There are a great number of different finishes you can choose for your furniture, such as stains, polyurethanes, shellacs, lacquers and wax. Choose one based on the type of look you’d like to have on your furniture. Make sure the area you’re working in is well ventilated to allow fumes from the any chemicals during the project to escape.
Make your refinished furniture a new lease on life as conversation piece that showcases your unique style. By following these five simple steps, even the most novice DIY enthusiast can complete this project with confidence.